Water Damage Restoration Guide: 10 Essential Steps After a Flood or Leak
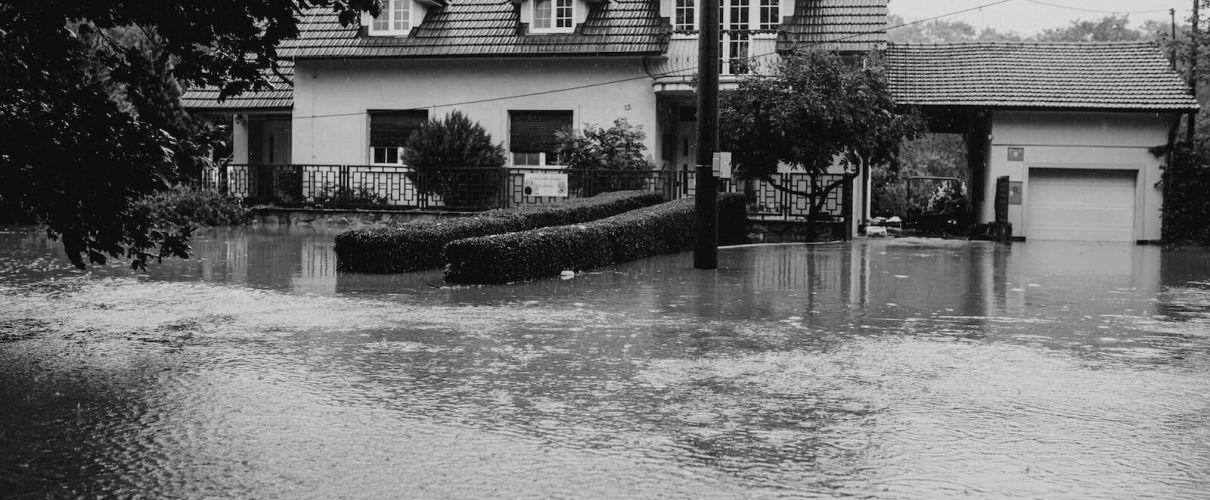
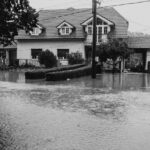
Water damage can strike when you least expect it — from burst pipes and roof leaks to flooding or appliance malfunctions. No matter the source, water intrusion can cause serious damage to your property, especially if not addressed quickly. Understanding the proper steps to take after water damage can save you time, money, and stress while helping you protect your home or business.
In this comprehensive guide, we’ll walk through the essential water damage repair steps, from the moment you notice the issue to the final restoration.
Step 1: Ensure Safety First
Your safety is the top priority. Water and electricity are a dangerous mix, and standing water can conceal hazards
- Turn off the electricity to affected areas (if safe to do so).
- Avoid entering flooded rooms unless you’re certain it’s safe.
- Watch out for sagging ceilings, slippery floors, and unstable materials.
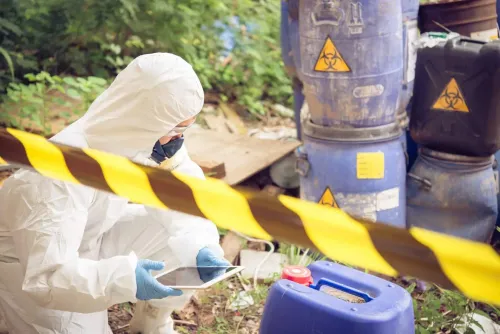
In cases of significant water damage or contamination from sewage or floodwater, it is crucial to evacuate the premises and await the arrival of qualified professionals.
Step 2: Stop the Source
Next, you’ll need to locate and stop the source of the water to prevent further damage. This could mean:
- Shut off the plumbing if a pipe or appliance is leaking.
- Use tarps to temporarily cover damaged roofs.
- Contact your water utility company if you’re unsure of the source.
The quicker you stop the water flow, the more you can minimize damage and potential mold growth.
Step 3: Document the Damage
Before cleanup begins, document everything. This is critical if you plan to file an insurance claim.
- Take clear photos and videos of all affected areas and items.
- Record visible signs of damage to walls, floors, ceilings, appliances, and furniture.
- Note the source of the leak (if known) and when you discovered it.
This documentation is crucial for insurance claims.
Step 4: Notify Your Insurance Provider
After documenting the damage, contact your homeowners or property insurance provider as soon as possible. They may send an adjuster to assess the damage and will let you know what your policy covers.
- Ask what’s covered (mold, structural repairs, replacements).
- Keep a log of all communications with your insurance company.
- Save receipts for repairs, temporary housing, and related expenses.
Step 5: Call Professionals for Water Removal and Drying
Prompt and thorough drying is essential to stop water damage from spreading and to prevent mold growth. Even if the water seems minor, hidden moisture can cause serious issues later.
We strongly recommend calling a professional water damage restoration service to handle this process properly.
Certified experts will:
- Quickly extract standing water using industrial equipment
- Use commercial-grade dehumidifiers and air movers to dry the affected area
- Detect hidden moisture in walls, floors, and ceilings using specialized tools
- Apply antimicrobial treatments to prevent mold and bacterial growth
Trying to handle water damage on your own can lead to long-term damage, costly repairs, and health risks. Professionals ensure the job is done safely, thoroughly, and efficiently.
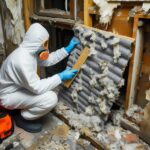
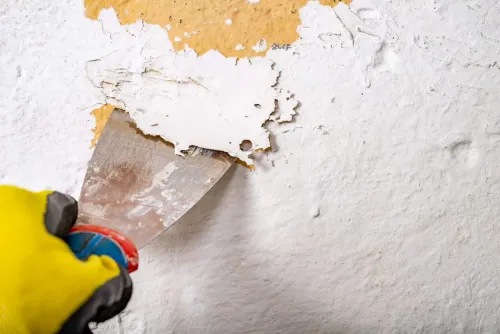
Step 6: Remove Damaged Materials
Once the area is dry, it’s time to remove materials that are no longer salvageable. These may include:
- Remove water-soaked drywall, insulation, or carpet.
- Discard warped flooring, baseboards, or trim.
Be cautious: disturbing moldy materials can release harmful spores.
Step 7: Professional Cleaning and Disinfection
After removing unsalvageable materials, the next critical step is a thorough, professional cleaning and disinfection process. Water from floods, appliance overflows, or sewage backups can carry bacteria, viruses, and other hazardous contaminants.
Our trained technicians follow strict industry protocols to ensure the area is safe and sanitary.
- Disinfect all affected surfaces using EPA-approved antimicrobial agents
- Deep clean structural materials, flooring, walls, and furnishings
- Use professional-grade equipment to neutralize odors and prevent microbial growth
- Wear proper protective gear to ensure health and safety throughout the process
This level of cleaning not only protects your property but also your health, especially in situations involving black water or sewage.
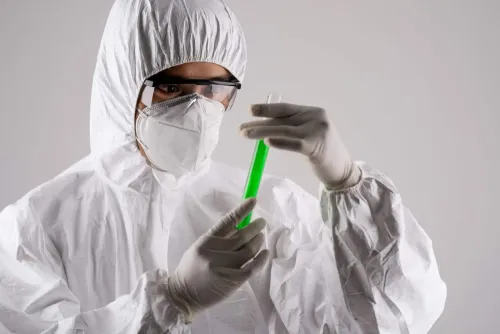
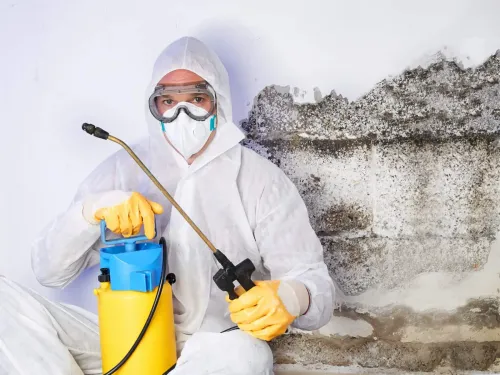
Step 8: Check for Mold Growth
Mold can start growing within 24–48 hours after water damage. Even if everything seems dry, mold may grow behind walls or under floors.
- Watch for musty odors, fuzzy patches, or discoloration.
- Hire a mold inspector if you suspect hidden growth.
- Don’t proceed with repairs until mold is fully remediated.
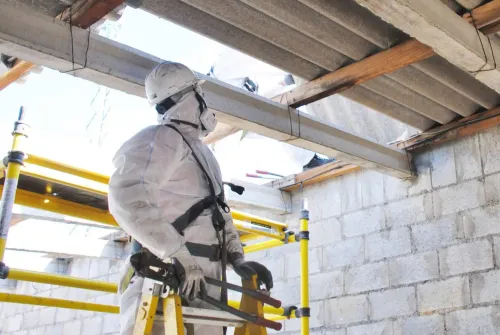
Step 9: Repair and Restore the Property
Depending on the damage, you may need to:
- Replace drywall, insulation, or flooring.
- Repaint and reinstall fixtures.
- Restore cabinetry, electrical systems, or HVAC components.
Work with licensed contractors to ensure that all repairs meet local building codes and are completed properly.
Step 10: Prevent Future Water Damage
Once repairs are complete, take steps to avoid a repeat issue:
- Inspect roofing, plumbing, and appliances regularly.
- Install sump pumps or leak detectors.
- Clean gutters and seal foundation cracks.
Prevention is often much less expensive than repairs, especially when mold or structural damage is involved.
Act Quickly and Get Help
The faster you respond, the better your outcome. At Asbestos Professionals LLC, we offer 24/7 emergency water damage restoration in Colorado. From water removal to mold remediation and repairs, we’re here to help.
📞 Call (303) 337-4839
🌐 www.asbestosprofessionals.net
📧 Contact Us: Info@asbestosprofessionals.net